> ## Documentation Index
> Fetch the complete documentation index at: https://api-docs.wisprflow.ai/llms.txt
> Use this file to discover all available pages before exploring further.
# Quickstart
Create your API keys and send your first POST request.
## Step 1: Create your API key
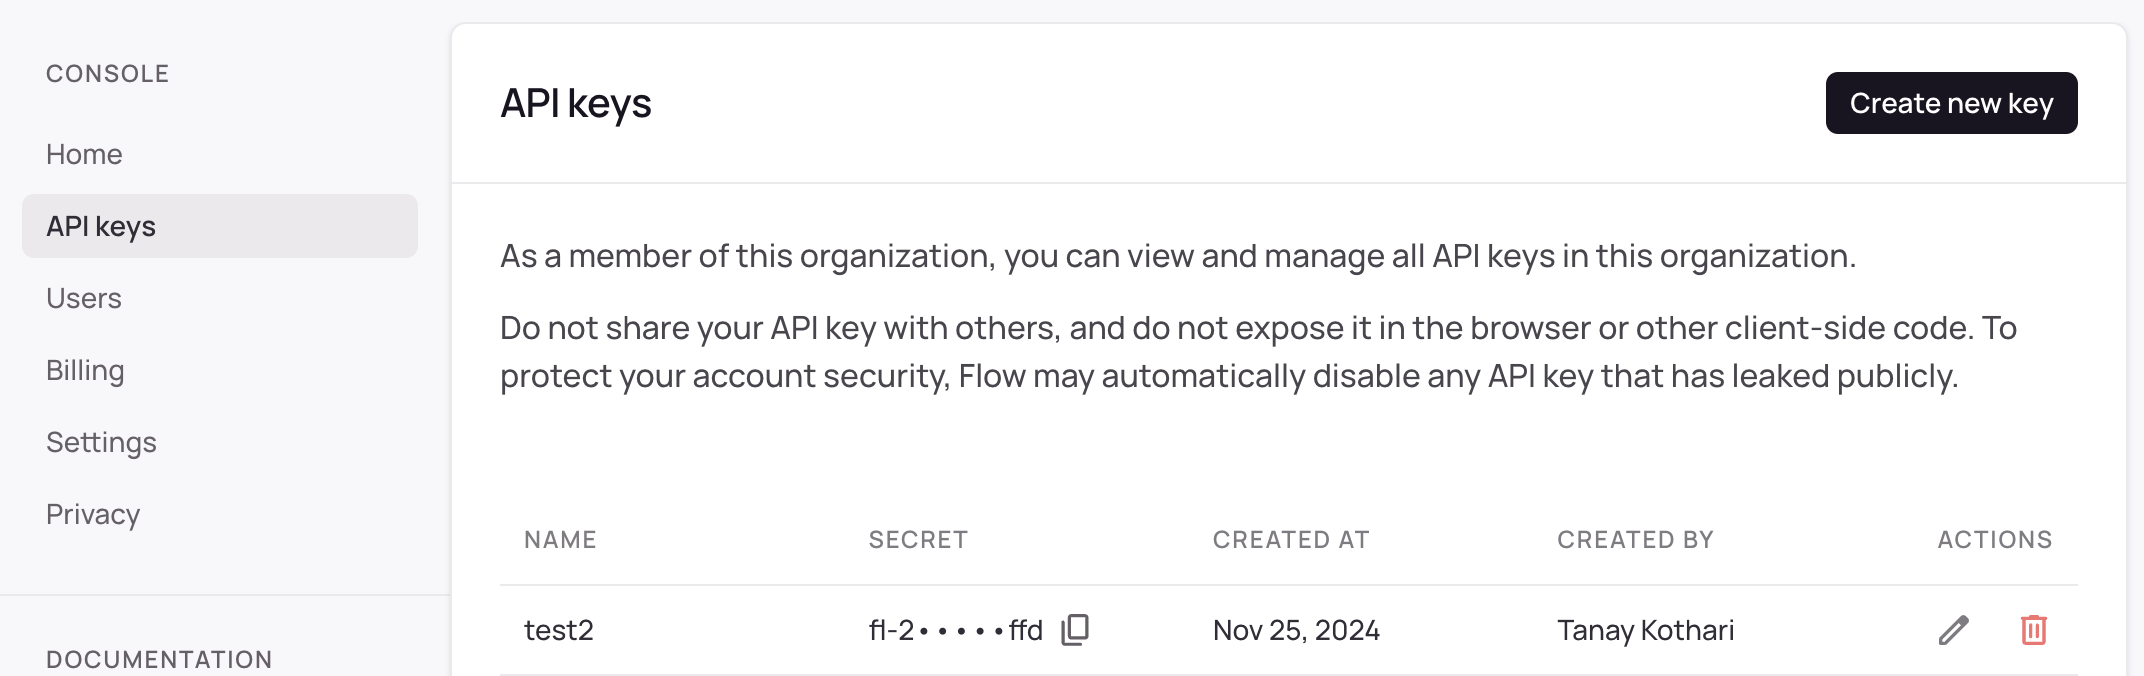
Login to the Developer Platform ([https://platform.wisprflow.ai](https://platform.wisprflow.ai)) and go to **API Keys > Create new key**.
Flow API is only available by exclusive access. Your organization must be approved by the Flow team before you can use access the dashboard. Email us at [enterprise@wisprflow.ai](mailto:enterprise@wisprflow.ai) if you have any questions.
**Note**: The API key will only be shown once. Make sure you store it somewhere safe.
 We recommend setting up client side auth to reduce latency. Read more on our **Client side auth** docs
## Step 2: Record audio in your application
Flow accepts audio as a **base64 string of with 16kHz PCM wav**. The [MediaRecorder](https://developer.mozilla.org/en-US/docs/Web/API/MediaRecorder_API) Web API records audio in `.webm` format. There's a few resources linked below to help you convert your audio to the correct format that Flow accepts.
> Potential gotcha: Web apps by default record `.webm` and not `.wav`. Make sure you convert it to wav and encode it as base64 before sending.
* [wavtools](https://github.com/keithwhor/wavtools) **(Recommended)** - library for both recording and streaming Waveform Audio (.wav) data in the browser.
We recommend setting up client side auth to reduce latency. Read more on our **Client side auth** docs
## Step 2: Record audio in your application
Flow accepts audio as a **base64 string of with 16kHz PCM wav**. The [MediaRecorder](https://developer.mozilla.org/en-US/docs/Web/API/MediaRecorder_API) Web API records audio in `.webm` format. There's a few resources linked below to help you convert your audio to the correct format that Flow accepts.
> Potential gotcha: Web apps by default record `.webm` and not `.wav`. Make sure you convert it to wav and encode it as base64 before sending.
* [wavtools](https://github.com/keithwhor/wavtools) **(Recommended)** - library for both recording and streaming Waveform Audio (.wav) data in the browser.